Coloured glass splashbacks
Painted on the back of the glass in any RAL, Dulux or Farrow & Ball colour, so the colour is sealed behind the pane and cannot wear off.
- Any paint reference matched
- Back-painted and sealed
- Matt or gloss finish
Toughened & coloured · London
Toughened coloured splashbacks in any RAL or Dulux shade, cut to your kitchen with the socket cut-outs already in. One joint-free surface behind the hob, and nothing to grout.
No forms. Call the workshop, or email and we will come back the same working day.

What we do
One sheet of glass behind a hob or along a worktop. No grout lines, nothing to go black, and it wipes clean in seconds. The only decisions are the colour, the glass and where the cut-outs go.
Painted on the back of the glass in any RAL, Dulux or Farrow & Ball colour, so the colour is sealed behind the pane and cannot wear off.
Full runs along a worktop and behind the hob, cut to the units with socket and switch cut-outs already made.
Digitally printed images, patterns or graduated colour on the back of the glass, in whatever resolution the artwork supports.
Fitted over tiles, brickwork or wallpaper you want to keep and protect. Low-iron glass has no green tint over pale surfaces.
Behind basins, in utility rooms and in laundry areas — anywhere a grouted surface would end up looking tired.
Slim upstands along a worktop and glass returns into a window reveal, colour-matched to the main splashback.
The work
Illustrative images of the systems described above. Specification and finish are confirmed in writing with your quotation.
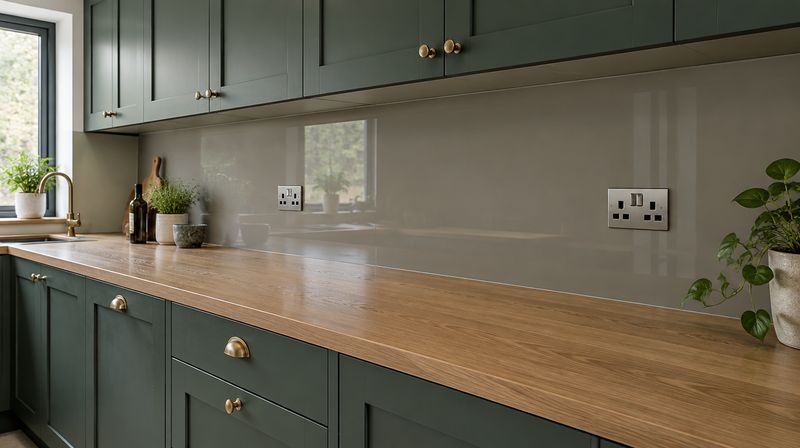
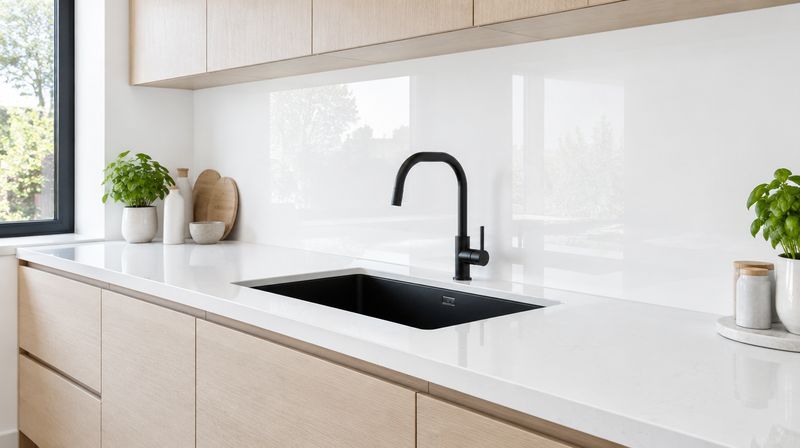
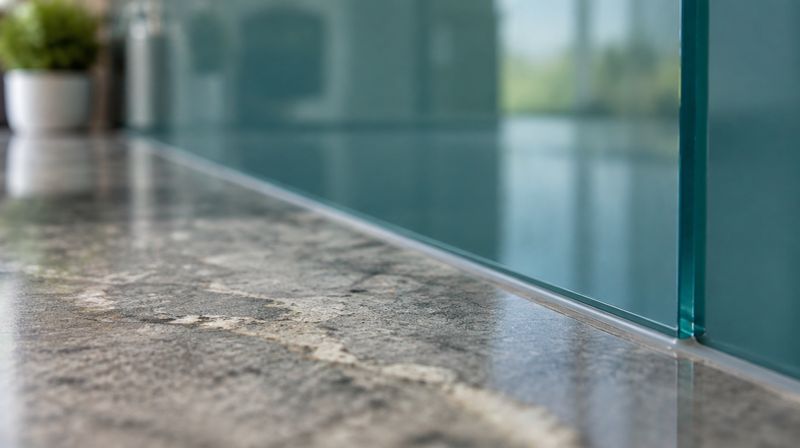
Most people who come to us about glass splashbacks in London have already decided against tiles, and they think the only question left is colour. It is not. The decisions that determine whether a splashback looks like part of the kitchen or like something stuck on afterwards are all made earlier than that: when the panel gets templated, where the electrician puts the sockets, how the glass meets the cooker hood, and whether anybody has looked at the colour under the lights that will actually be above it.
The argument against tiles is grout, and you have read that already. What nobody mentions is that glass is unforgiving in one very specific way. Once a panel has been toughened, nothing about it can change. It cannot be trimmed, drilled, notched or eased. Every other surface in a kitchen tolerates a late decision. Glass does not, so the whole job is front-loaded into getting the information right before the sheet goes anywhere near the furnace.
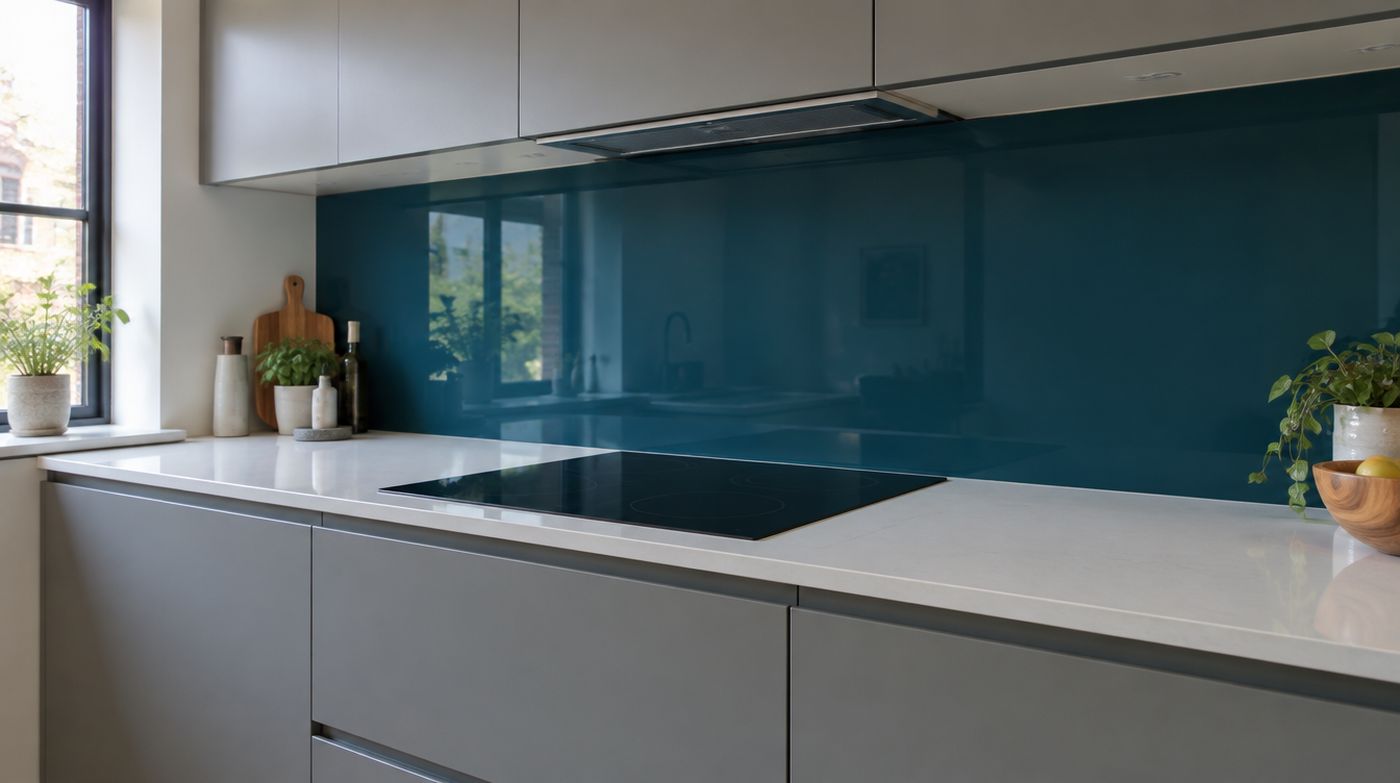
Toughened glass splashbacks are made once and fitted once, and that is the whole character of the product. It is the difference between a panel that fits like it grew there and one that needed a bead of silicone the width of your thumb to hide the gap. Everything below is about the decisions you make before the glass is made.
After the worktops. Not before, not on the same day, and not off the kitchen designer’s plan. The worktop is the datum the panel sits on, and a worktop that is three millimetres out of level across a three metre run changes the bottom edge of the glass by three millimetres. That is the edge your eye goes to, because it is the one with a dark line of silicone under it and a hard worktop surface beside it.
The hood is the other thing the glass has to meet. A chimney hood fixed to the wall sets either the width of the panel behind it or the height of the panel under it, so we want it on the wall before we template, or at the absolute minimum its final height and bracket positions confirmed in writing by whoever is fitting it. A hood that moves up 40mm after the glass is made leaves a painted wall showing above the panel.
Appliances are where opinions differ. Integrated ovens and dishwashers make no difference and can stay in. A hob is better out of the worktop on fitting day, because a hob with a raised cast trim overhangs the back of the cut-out and changes the lower edge detail. A freestanding range cooker has to come out for both the template and the fit, which means a Gas Safe engineer or an electrician, and that needs booking rather than discovering.
The most common programme mistake we see is a kitchen fitter booking the template visit and the fitting visit in the same week. The glass has to be made in between, and nothing about cutting, spraying and toughening a panel gets faster because somebody is waiting. Build a fortnight into the plan and nobody has to live with a half-finished kitchen.
Start from the worktop, not from a mood board. The worktop is the largest hard surface in the room and it has a temperature baked into it by the stone or the quartz itself, warm or cool, whatever the sample card calls it. A grey with a brown undertone and a grey with a blue undertone are both grey, and putting one next to the other looks like a mistake rather than a choice.
The safe route is to pull the splashback colour from inside the worktop’s own range, a shade or two lighter or darker. The other safe route is to go deliberately a long way away: a deep green behind a pale quartz, an off-white behind a dark granite. Where it goes wrong is the middle distance, a colour close enough to the worktop to look like a failed match but not close enough to read as deliberate.
Units pull the decision the other way. With handleless pale or white doors, the splashback is usually the one place in the kitchen you can put real colour, and it works hard. With strong units, the splashback normally wants to disappear, which means taking it off the wall colour or going near-white and letting the doors do the talking.
Then there is the light. Back-painted glass with a gloss face is a mirror. It shows the ceiling, the pendants, the worktop clutter and, above all, the downlights. A run of spots set close to the wall gives you a row of bright hotspots in the glass, and deep colours show them most because the surrounding field is dark. Matt and satin-faced glass scatters the light instead of bouncing it, so it reads like a wipeable painted wall. It hides fingerprints and smears far better, and it loses the depth and the wet look that makes people want glass in the first place. Neither is right. It depends on your lighting and how tidy you are.
Colour cards are specified under daylight. Your kitchen at seven in the evening in February is a 3000K LED, and a soft white under that light is a cream. We spray samples and we would rather you looked at them on your own wall at night than approved a code over the phone. We will not take a colour off a photograph or a screen, and anybody who offers to is guessing on your behalf.
If you are choosing a soft white, a pale grey or anything with blue in it, ask for one sample on low iron glass and one on standard float, stand them side by side on your wall and decide with your own eyes. It costs you a few days. It is the difference between a splashback you stop noticing and one you notice every single morning.
Porcelain slab is the real competitor and nobody selling glass likes admitting it. A large format porcelain panel gives you a seamless, heat-proof, genuinely hard surface that can be matched to a porcelain worktop so the whole thing reads as one material. Against that, it is thicker, it needs a flat and sound substrate, it needs a slab fabricator rather than a glass workshop, and socket cut-outs are more expensive and less forgiving. Joints between slabs are a visible line that needs a colour-matched grout. If your worktop is porcelain and you want continuity, go and get a porcelain quote before you get ours.
Quartz upstands matched to the worktop are the best answer when you want the splashback to vanish completely. A hundred millimetre band in the same slab as the worktop is a perfect match by definition. Full height quartz is a different proposition: heavy, often needing mechanical support, and considerably more per square metre than glass. If all you want is 100mm and nothing above it, quartz and glass upstands are both sensible and the quartz will match better.
Metro tiles, handmade tiles, zellige: if you want that look, buy the tiles. Glass cannot imitate a glazed ceramic edge and a printed panel of fake tiles looks like exactly what it is. Tiles lose on cleaning, they lose behind a hob, and they lose in a rental. They win on character, and character is a legitimate reason to accept grout.
Stainless steel behind a professional-style range is the right material and glass is not. Steel takes direct radiant heat, shrugs off a knock from a pan, and ages into a patina rather than failing. If your clearances are tight and your cooking is serious, a steel panel in the hob zone with glass either side is a better kitchen than glass all the way across.
There are kitchens where we would talk you out of glass altogether. Walls that are visibly bowed or badly out of plumb, because glass is dead flat and will show a ten millimetre bow as a shadow gap at the edges. Layouts with five or six short returns, because that is five or six separate panes and five or six joints, and it will look busy. Any wall that might be re-plastered or re-wired in the next couple of years. And anyone who likes changing their colour scheme, because a bonded panel does not come off twice.
Every socket, switch, fused connection unit, cooker switch, extractor isolator and boiler switch on that wall becomes a cut-out, and cut-outs are made before the glass is toughened. They cannot be moved, enlarged or added afterwards. So socket positions have to be final, not provisional, before we put a template on the wall.
In practice the person who decides those positions is the electrician, often standing on site, often on the day. Three things from them make the job better. Set the back boxes at one consistent height above the worktop rather than eyeballing each one. Keep them square to the worktop, not square to a bowed wall. And get the fronts of the boxes at a sensible depth, because the faceplate screws now have to reach through six millimetres of glass and a bead of silicone, and a box buried deep in a dot-and-dab wall swallows the thread.
If a socket moves after the glass is made, that section of glass is scrap. There is no repair. What we can sometimes do is design the run so a planned joint falls between the socket zone and the rest, which means a late change costs one panel instead of the whole wall. That is a real argument for a joint, and it is worth hearing before you insist on one piece.
A splashback priced over the phone from measurements you took yourself is cheaper for an obvious reason: you have taken on the risk. If the panel arrives and the return is two millimetres too wide, it is your panel. Plenty of people take that bet successfully and we are not going to pretend otherwise. Just know that is the bet you are placing.
The gaps that turn a cheap quote into an expensive job are nearly always the same ones. No template visit, so no allowance for the bow in the wall. Cut-outs charged per item on top. Low iron glass priced as an upgrade after you have already chosen a pale colour that needs it. Upstands, window reveals and returns quoted as extras. No silicone, no making good, no removal of the old tiles, no flattening of the wall underneath, no waste taken away, and no hob or hood removal.
Our quotes follow a free survey anywhere in London and they are fixed and in writing, listing panel sizes, glass type, colour reference and sheen, every cut-out, the silicone colour and who removes what. And we will tell you when you do not need us at all. If your kitchen is a straight three metre run, no sockets, flat walls and you are handy with a tape, a stock size panel from a mail order supplier will probably fit and will cost you less than our survey is worth. We would rather say that than sell you a site visit you do not need.
How it works
Four stages, and we tell you where you are at each one.
We template on site. Walls are rarely straight and the gap behind a worktop is rarely even, which a tape measure alone will not pick up.
Choose from any RAL, Dulux or Farrow & Ball reference. We confirm the colour on a glass sample, not a paper chart — glass changes how a colour reads.
Cut-outs are made, the glass is toughened, then the back is painted and cured. Nothing can be cut after toughening.
Bonded to the wall with the correct neutral-cure adhesive and sealed. Usually an hour or two, with no mess.
Specification
Every quote states the glass build, the standards it is made to and the hardware. If a quote you are comparing does not, that is worth asking about.
Splashbacks are cut, toughened and back painted under one roof on Atlas Road in Wembley.
| Item | Specification |
|---|---|
| Glass thickness | 6mm toughened as standard. 4mm is suitable for small areas behind a basin. Thicker glass adds weight without adding anything useful on a bonded panel. |
| Toughening | Always toughened to BS EN 12150. A splashback behind a gas or induction hob gets hot and cold repeatedly — ordinary annealed glass will crack. There is no cheaper option that is safe. |
| Low-iron glass | Standard float glass has a green tint from its iron content, which shows against whites, greys and pastels. Low-iron glass is near-colourless, so pale colours read true. Essential for white, cream and light grey. |
| Behind a hob | Toughened glass is fine behind gas and induction hobs. Check the hob manufacturer's minimum clearance between the burner and any vertical surface, and we will set the glass accordingly. |
| Cut-outs | Sockets, switches, extractor points and corners are all cut before toughening, from the site template. Nothing can be drilled or trimmed afterwards. |
| Fixing | Bonded with a neutral-cure silicone or a proprietary splashback adhesive. Acetic (vinegar-smelling) silicone attacks the back paint and must not be used — a common cause of patchy discolouration. |
FAQ
Price follows area, glass type and the number of cut-outs. A single panel behind a hob is modest. A full run along a worktop in low-iron glass with several socket cut-outs costs more, and a printed panel more again. Low-iron glass is a worthwhile uplift on pale colours and a waste of money on dark ones. We price from the template with fitting included.
Any RAL, Dulux or Farrow & Ball reference, and most other paint systems. One caveat worth knowing: the glass itself affects how the colour reads. Standard float glass has a green cast that pushes whites towards cream and greys towards olive. On pale colours we recommend low-iron glass and we confirm the colour on a glass sample before anything is painted.
Yes, provided it is toughened — which everything we make is. Toughened glass handles the thermal cycling behind a hob without complaint. The thing to observe is the hob manufacturer's stated minimum clearance between the burner and a vertical surface, which varies by model. Tell us the hob and we will set the glass to suit it.
Not necessarily. If the tiled surface is sound, flat and the tiles are not heavily textured, glass can be bonded straight over them. The thickness just moves the face of the wall forward a little, which occasionally matters at a socket or a window reveal. If the tiles are loose or very uneven, they are better off.
Templating takes about half an hour. Making the glass is typically one to two weeks — cut, toughened, painted and cured, each step with its own curing time. Fitting is usually an hour or two. Printed panels take a little longer because artwork needs approving before print.
A single pane is best and we make them as large as transport and access allow. Beyond that, a run is made in sections with a butt joint rather than a visible trim, sealed with a colour-matched silicone. On a back-painted splashback the joint is barely noticeable; we will show you where joints would fall at the template stage so there are no surprises.
In detail
A page on each part of what we do, written to answer the question properly rather than to sell.
One joint-free surface behind the hob and along the worktop, templated to your kitchen and toughened before it is painted.
The colour on a glass splashback is not in the glass. It is sprayed on the back and sealed behind the pane, and that one fact decides how it looks, how it lasts and what it costs.
A splashback behind a hob is the one piece of glass in a house that gets heated unevenly every single day. This is the technical case for toughened glass splashbacks, and the specification to insist on in writing.
Made to measure means a panel cut to the wall you actually have, not the wall on the kitchen drawing. This page sets out what we record, what tolerances we work to, and what has to be decided before anyone templates.
A bathroom panel sees no heat and a great deal of water, sits at eye level, and usually has brassware coming through it. Every one of those things changes the specification.
A printed splashback is an image laid on the rear face of the pane and sealed behind it. Whether it looks good has less to do with the printer than with the artwork and where the panel ends up.
A splashback is bonded to the wall once and cannot be trimmed, moved far or drilled afterwards. The fitting is where the job is won or lost, so these are the questions we would ask if we were buying.
Coverage
We cover Greater London from our Wembley workshop, with most work in north, west and central London. See the full list of areas.
Send the rough size and the colour you have in mind. We will template on site across London and confirm the colour on glass before anything is made.